Table of Contents
Introduction to Danish Pastry
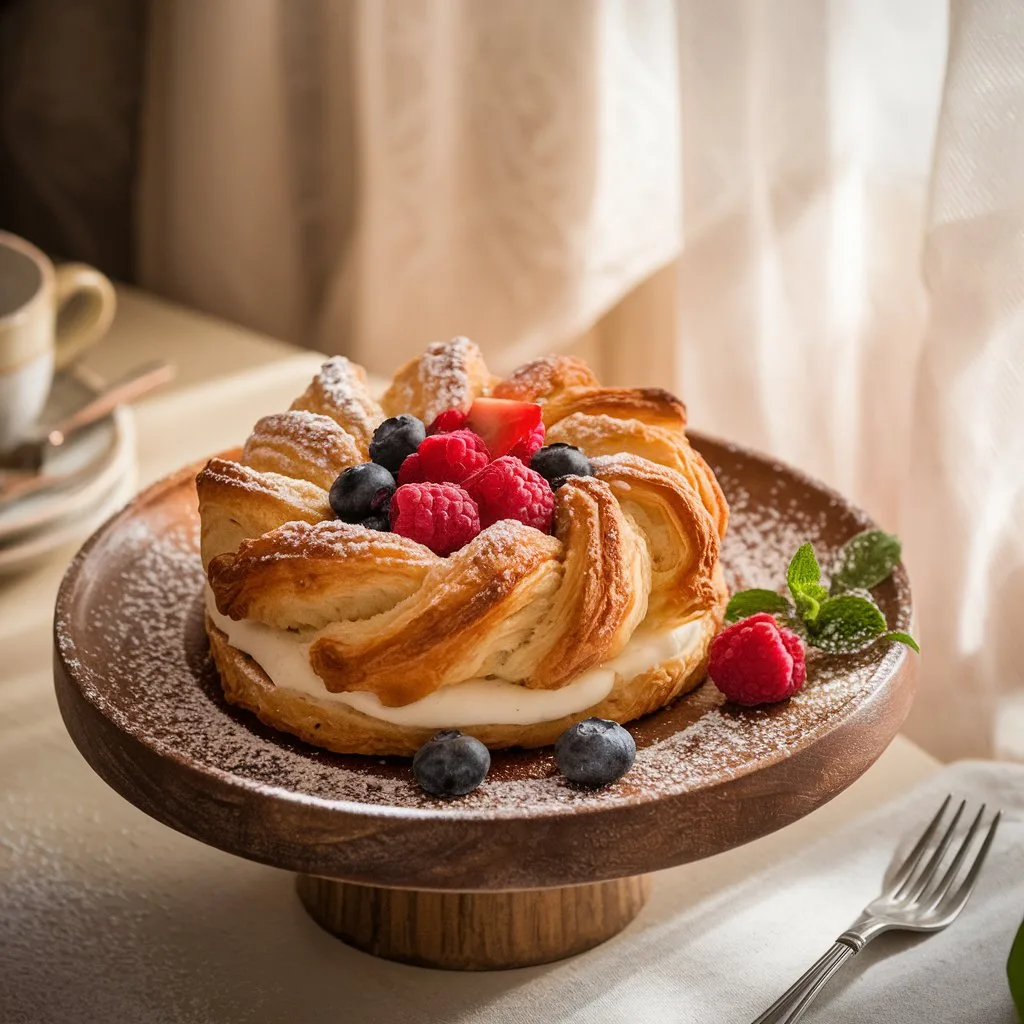
Who doesn’t love biting into a flaky, buttery pastry that melts in your mouth? Danish pastries, with their delicate layers and irresistible fillings, have a way of making any day feel special. But what makes them stand out from other baked goods? Well, it’s all about those perfectly laminated layers of dough and the way they cradle their sweet or savory fillings. Today, we’re diving into the world of Danish pastries with cream cheese and berries—a combo that’s as classic as peanut butter and jelly but feels way more elegant.
“Life is what you bake it, so why not bake something unforgettable?”
Whether you’re an experienced baker or a newbie, this guide will help you craft a stunning Danish pastry that looks and tastes like it came straight from a bakery. So, roll up your sleeves and let’s get baking!

Why Choose Cream Cheese and Berries for Danish Pastries?
You might be wondering, why pair cream cheese with berries? It’s simple: they’re a match made in pastry heaven. Let’s break it down:
- Cream Cheese: Smooth, tangy, and just the right amount of creamy, it adds richness to the pastry without overpowering it. Think of it as the glue that ties everything together.
- Berries: Whether you choose strawberries, raspberries, or blueberries, the natural sweetness and tartness of berries provide a juicy burst of flavor that cuts through the richness of the cream cheese.
The Perfect Danish Pastry Recipe
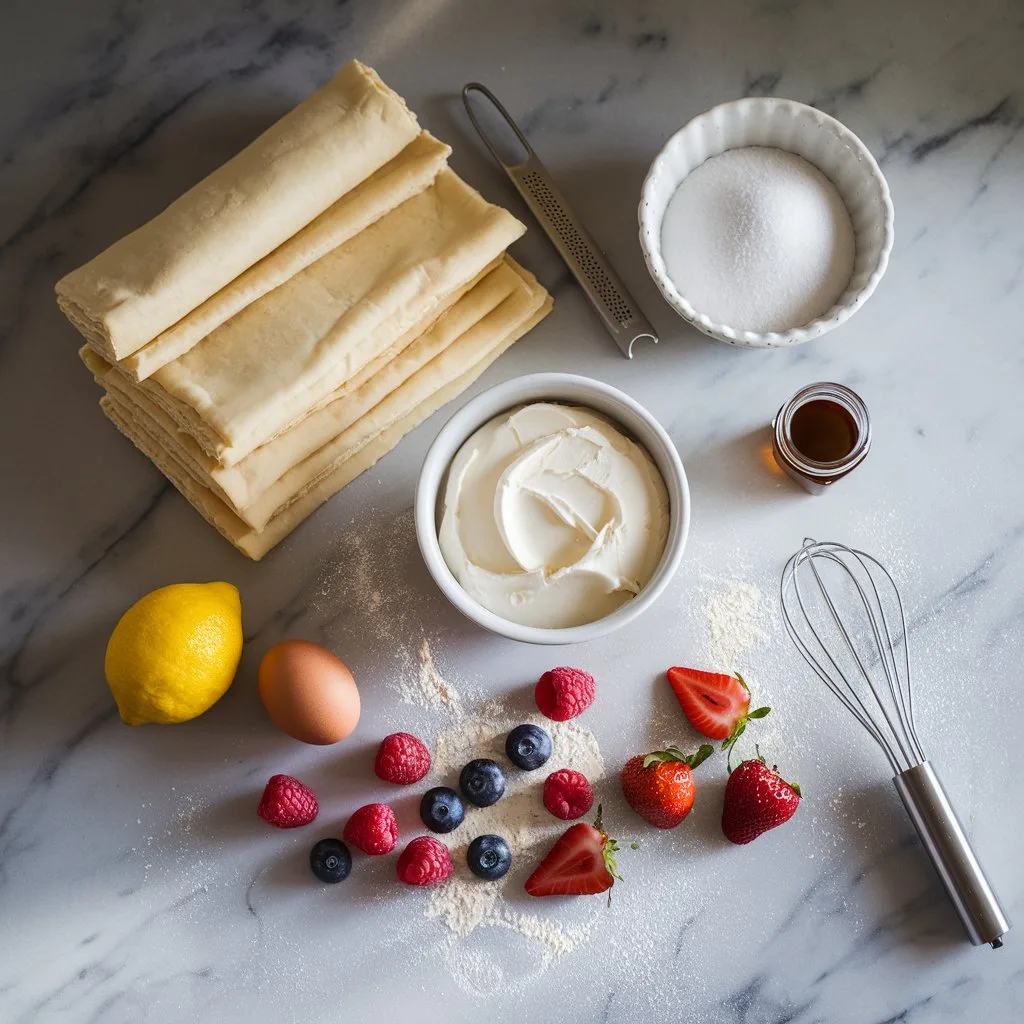
Making Danish pastries from scratch might seem intimidating, but trust me, it’s all about having the right ingredients and a little patience. Here’s what you’ll need:

| Ingredient | Quantity |
|---|---|
| All-purpose flour | 3 ¾ cups (470g) |
| Unsalted butter (cold) | 1 cup (225g) |
| Granulated sugar | ¼ cup (50g) |
| Milk (warm) | 1 cup (240ml) |
| Instant yeast | 2 ¼ tsp (1 packet) |
| Salt | ½ tsp |
| Cream cheese (softened) | 8 oz (225g) |
| Powdered sugar | ½ cup (60g) |
| Mixed berries (fresh or frozen) | 1 ½ cups (225g) |
| Egg (beaten) | 1 (for egg wash) |
| Vanilla extract | 1 tsp |
| Lemon zest | 1 tsp |
Pro Tip: Always use cold butter for the dough to achieve those signature flaky layers. Warm butter will ruin the lamination process.
Step-by-Step Guide to Making Danish Pastry with Cream Cheese and Berries
Ready to get started? Follow these steps, and before you know it, your kitchen will smell like a cozy bakery.
1. Prepare the Dough
Making Danish pastry dough is a bit like crafting art—it takes time, but the results are worth it.
- In a large bowl, mix the warm milk, sugar, and yeast. Let it sit for about 5 minutes until it’s foamy. This means your yeast is alive and kicking.
- Add the flour and salt, then mix until a rough dough forms. Don’t overdo it—this step is just to bring everything together.
- Roll the dough into a rectangle, then chill it in the fridge for 30 minutes.
2. Lamination: The Secret to Flaky Layers
Lamination is what gives Danish pastries their signature flakiness. It might sound fancy, but it’s just folding butter into dough.
- Roll out the chilled dough into a large rectangle. Place cold butter slices on one half, then fold the other half over like a book.
- Roll it out again and fold it into thirds (like a letter). Chill for 30 minutes.
- Repeat this process 2–3 times to create multiple layers. Trust me, your patience will pay off when you see those beautiful layers puff up in the oven.
3. Prepare the Filling
While your dough is chilling, it’s time to whip up that dreamy cream cheese filling.
- In a bowl, mix the softened cream cheese, powdered sugar, vanilla extract, and lemon zest. It should be smooth and spreadable.
- Set it aside and try not to eat it all with a spoon.
4. Shape the Pastries
Now comes the fun part—shaping your pastries!
- Roll out the dough and cut it into squares (about 4×4 inches). You can fold the corners toward the center for a traditional pinwheel shape or twist them for something more creative.
- Spoon a dollop of the cream cheese mixture into the center of each square, then top it with a few berries.
“Baking is like love—it’s all about the details.” Don’t rush this step; a well-shaped pastry is half the battle.
5. Bake to Perfection
Before baking, brush the pastries with beaten egg to give them that golden, glossy finish.
- Bake in a preheated oven at 375°F (190°C) for 18–22 minutes or until they’re golden and puffed.
- Let them cool slightly before digging in—although I won’t judge if you can’t wait!
Common Problems and How to Fix Them
Even the best bakers have off days, but don’t worry—here are some common problems and solutions:
- Soggy layers? Your butter might have melted during lamination. Always keep it cold.
- Filling leaks out? You might be overfilling or not sealing the edges well enough. Try using less filling and pinching the edges tightly.
- Uneven baking? Check your oven temperature and rotate the tray halfway through baking.
Nutrition Facts for Danish Pastry with Cream Cheese and Berries
Want to know what you’re indulging in? Here’s a breakdown:
| Nutrient | Per Serving |
|---|---|
| Calories | ~300 kcal |
| Total Fat | 15g |
| Carbohydrates | 35g |
| Protein | 5g |
| Sugar | 12g |
Creative Variations of Danish Pastries
One of the best things about baking Danish pastries is how customizable they are. Once you’ve nailed the basic technique, you can get as creative as you like. Let’s explore some fun and delicious ways to mix things up.
1. Adding Other Fruits and Nuts
If you’re a fan of variety, try swapping out the berries for other fruits like peaches, cherries, or even mangoes. Want some crunch? Sprinkle chopped almonds, pecans, or pistachios on top before baking. The nuts toast up beautifully and add a satisfying texture.
2. Flavored Cream Cheese
Why stop at plain cream cheese? Add flavors to your filling by mixing in a tablespoon of your favorite jam, a touch of cinnamon, or even some espresso powder. Imagine a cinnamon cream cheese filling with apple slices—pure heaven!
3. Savory Twists
Who says Danish pastries have to be sweet? Try a savory version with cream cheese, sautéed spinach, and feta. Top with sun-dried tomatoes or a sprinkle of parmesan for a gourmet snack that’s perfect for brunch or as an appetizer.
“Think outside the (baking) box—it’s where the magic happens!”
If you’re a fan of flaky, buttery breakfast treats, you’ll love making Danish Pastries with Cream Cheese and Berries. Explore these gluten-free protein pancakes to pair with your morning coffee. And if you’re planning a brunch spread, consider complementing your pastries with something savory like crispy chicken and waffles for a truly indulgent meal.

How to Serve and Store Danish Pastry with Cream Cheese and Berries
Once you’ve pulled your golden, flaky pastries out of the oven, the question is: how do you enjoy them to the fullest? Here’s a guide to serving and storing these beauties.
Serving Fresh Pastries
- Serve them warm: There’s nothing like biting into a fresh-from-the-oven pastry. The layers are at their flakiest, and the filling is irresistibly creamy.
- Add a dusting of powdered sugar for that “bakery-style” finish. Feeling fancy? Drizzle a little icing or melted chocolate on top.
- Pair with coffee, tea, or a cold glass of milk for the ultimate treat.
Storing for Later
- Room temperature: If you’re planning to eat them within a day, store them in an airtight container at room temperature.
- Refrigeration: For longer storage, place them in the fridge. Just be sure to reheat them in the oven to restore their crispness.
- Freezing: Want to save some for later? Freeze the unbaked pastries and bake them fresh when the craving strikes. Simply thaw them overnight in the fridge and bake as usual.
Reheating Tips
To reheat, pop them in a preheated oven at 350°F (175°C) for about 5 minutes. Avoid the microwave unless you’re okay with a soggy pastry—it’s not the same!
Frequently Asked Questions About Danish Pastries
We get it—there’s a lot to learn about Danish pastries, and you might have some burning questions. Let’s tackle the most common ones:
1. Can I Use Different Types of Berries?
Absolutely! Strawberries, blackberries, or even a mix of your favorites work beautifully. Just keep in mind that some berries, like raspberries, release more juice during baking, so be mindful of sogginess.
2. How Long Does the Dough Need to Chill?
Chilling is crucial for achieving those flaky layers. Each round of folding should be followed by at least 30 minutes in the fridge. If you have the time, letting the dough chill overnight improves the texture and flavor.
3. Can I Freeze Danish Pastries?
Yes! Danish pastries freeze well both before and after baking. If freezing before baking, make sure the pastries are shaped and filled. When ready to bake, thaw in the fridge and bake fresh. For baked pastries, wrap them tightly before freezing and reheat in the oven.
4. Why Did My Pastries Turn Out Dense?
Dense pastries usually mean the butter melted too much during lamination, or the dough wasn’t rolled thin enough. Keep the butter cold, and don’t skip the chilling steps.
5. Do I Need Special Equipment?
Nope! A rolling pin, a sharp knife, and a clean surface are all you really need. A pastry brush for the egg wash and parchment paper for baking are nice extras, though.
Conclusion: Elevate Your Baking Game with Danish Pastry
By now, you’ve got all the tools, tips, and tricks to make Danish pastries with cream cheese and berries that rival the ones at your favorite bakery. Whether you’re baking them for a family brunch, a fancy dessert, or just because you’re craving something delicious, these pastries are sure to impress.
So, why not give it a try? The process might take a little time, but the reward is oh-so-worth it. And remember, baking is all about learning and having fun. If something doesn’t go as planned, just eat the evidence and try again.
“The secret ingredient is always love. And butter. Lots of butter.”
Happy baking!
